So we meet again. Hello, from Ohio!
Yes, last time we chatted, I was in Florida, living the swamp a$$ life. I've done a thing or two since then... Moved to NYC, had two apartments in Brooklyn, attended culinary school, completed the Professional Pastry Arts program (top of my class!), landed a job at a Michelin starred restaurant fresh out of school, and started writing my next chapter.
Then COVID happened. Damn it. Now what?
It was on the DL (shhhhhh), but I'd already planned to leave NYC for a new adventure. COVID screwed everything up (sound familiar?), so I had to pivot. I found myself headed to the America's heartland (and corn land, and soybean land, and....) to spend some time with family before I hit the road again and get back to that new adventure.
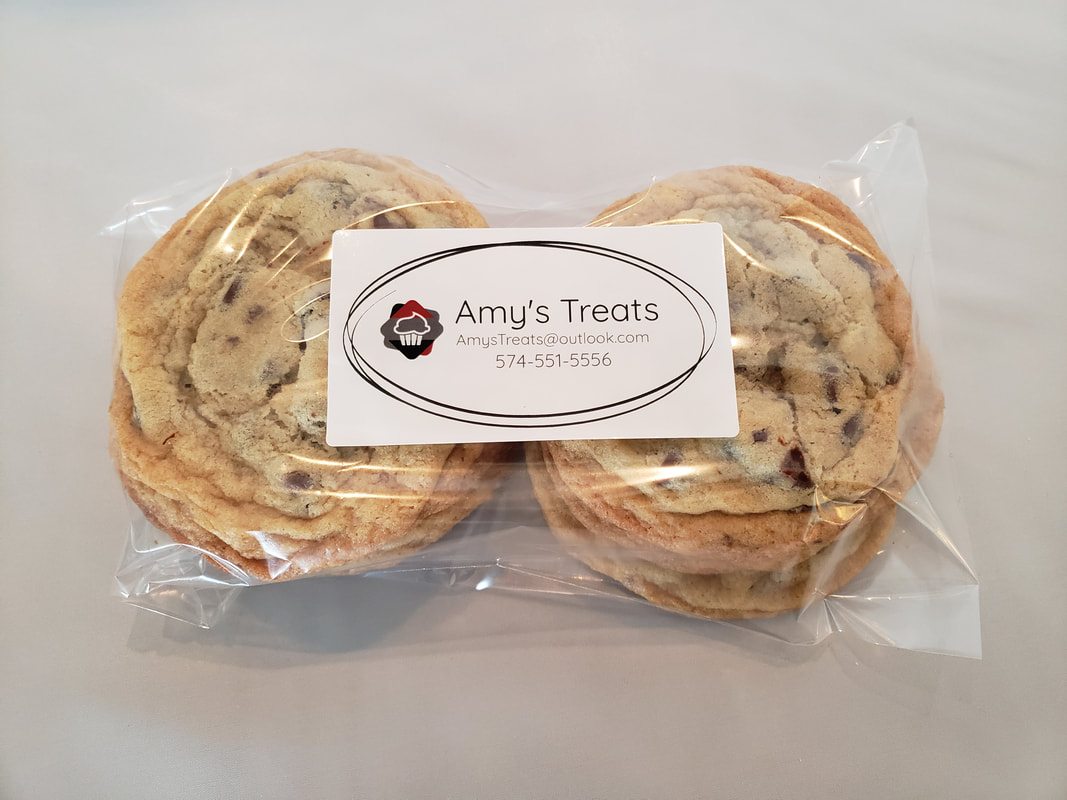
GOOD NEWS: While I'm in Ohio, I'm selling baked goods!
Products may change, but will generally always be listed here on my "store" page. Even if an item says "not available," please reach out to me. This site doesn't always update as quickly as I'd like. Special requests? I take those too! Let's figure out what I can make for you.
Local pickup and delivery are available (and preferred - with masks!) in Licking County and surrounding areas. Shipping is available throughout Ohio for a fee.
Let's get baking!! Check out my store page now!
Yes, last time we chatted, I was in Florida, living the swamp a$$ life. I've done a thing or two since then... Moved to NYC, had two apartments in Brooklyn, attended culinary school, completed the Professional Pastry Arts program (top of my class!), landed a job at a Michelin starred restaurant fresh out of school, and started writing my next chapter.
Then COVID happened. Damn it. Now what?
It was on the DL (shhhhhh), but I'd already planned to leave NYC for a new adventure. COVID screwed everything up (sound familiar?), so I had to pivot. I found myself headed to the America's heartland (and corn land, and soybean land, and....) to spend some time with family before I hit the road again and get back to that new adventure.
GOOD NEWS: While I'm in Ohio, I'm selling baked goods!
Products may change, but will generally always be listed here on my "store" page. Even if an item says "not available," please reach out to me. This site doesn't always update as quickly as I'd like. Special requests? I take those too! Let's figure out what I can make for you.
Local pickup and delivery are available (and preferred - with masks!) in Licking County and surrounding areas. Shipping is available throughout Ohio for a fee.
Let's get baking!! Check out my store page now!


 RSS Feed
