I don't like cats. I've never liked cats. I'd never liken myself to a cat. Except, I'm about to. I LOVE BRIGHT, SHINY OBJECTS! Enter: Mirror Cakes. Me-ow! Remember the first time you saw a mirror cake? I do. I raced to the Google machine IMMEDIATELY, intent on replicating this cakey sorcery. I couldn't find a recipe ANYWHERE! This thing was completely.locked.down. After a hefty amount of searching, I got frustrated and threw in the towel. Sorry, mirror cake. You just aren't for me.
Fast forward to this past week. Here I am, watching YouTube videos about royal icing, cookie decorating, and marshmallow fondant (JUST SHOW ME ALL OF THE THINGS!). The video I was on ended and the next auto-played. Lo and behold, the next vid just so happened to be about MIRROR CAKES! Not only about them, but about how easy they are to make! At home! By yourself! AAHHHHHHH. Thank you, Elise. Thank. You. ?
Full disclosure: This post isn't a complete step-by-step tutorial with an included recipe. If you want the live action video of all that, please click on the video by Elise linked above. Here, you'll find the basics, some observations, and my first attempt at mirror glaze cakery. Let's do it!
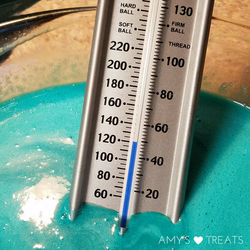
First thing's first - You cook the glaze. It's not pretty or exciting, so no pics of that. After you cook it, you have to let it come down to the correct temp before applying it to the cake. Mirror cake will not be mirror cake if the mirror runs completely off when applied -that's what happens if you don't let it come to temperature.
Fast forward to this past week. Here I am, watching YouTube videos about royal icing, cookie decorating, and marshmallow fondant (JUST SHOW ME ALL OF THE THINGS!). The video I was on ended and the next auto-played. Lo and behold, the next vid just so happened to be about MIRROR CAKES! Not only about them, but about how easy they are to make! At home! By yourself! AAHHHHHHH. Thank you, Elise. Thank. You. ?
Full disclosure: This post isn't a complete step-by-step tutorial with an included recipe. If you want the live action video of all that, please click on the video by Elise linked above. Here, you'll find the basics, some observations, and my first attempt at mirror glaze cakery. Let's do it!
First thing's first - You cook the glaze. It's not pretty or exciting, so no pics of that. After you cook it, you have to let it come down to the correct temp before applying it to the cake. Mirror cake will not be mirror cake if the mirror runs completely off when applied -that's what happens if you don't let it come to temperature.
While I waited, I walked the dogs. I called a friend. I did the dishes. I ran errands. I cut up an apple. I watched other videos. I looked up recipes. I folded laundry.
Letting the mirror glaze cool down took approximately FOREVER. And by that I mean, it took a couple of hours. It probably didn't help that the bowl was covered with plastic wrap, thereby holding the heat in, but I didn't want the glaze to form a skin if left uncovered.
Mirror glaze, mirror glaze, on the counter, who's the ... wait, what rhymes with counter?!
|
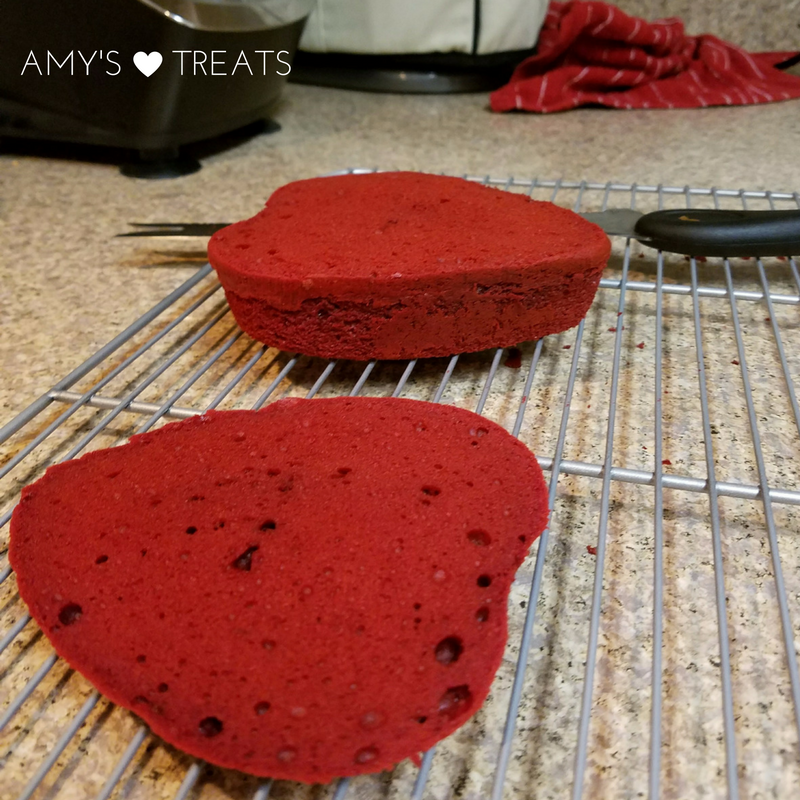
Another good thing to do while you wait is to level your cake. You'll put the cut side down so the baked (smoother) side gets the glaze on it, but this will ensure you have a level cake.
You could eat the part you cut off. And really, who wouldn't? I'm the weirdo who doesn't like red velvet cake (don't hate me), so I saved it for additional glazing practice. Note: Something as thin as the top layer will not hold up well to the glaze. I suggest you don't glaze anything of size that is so thin, or you're going to be very disappointed when you try to move it. |
|
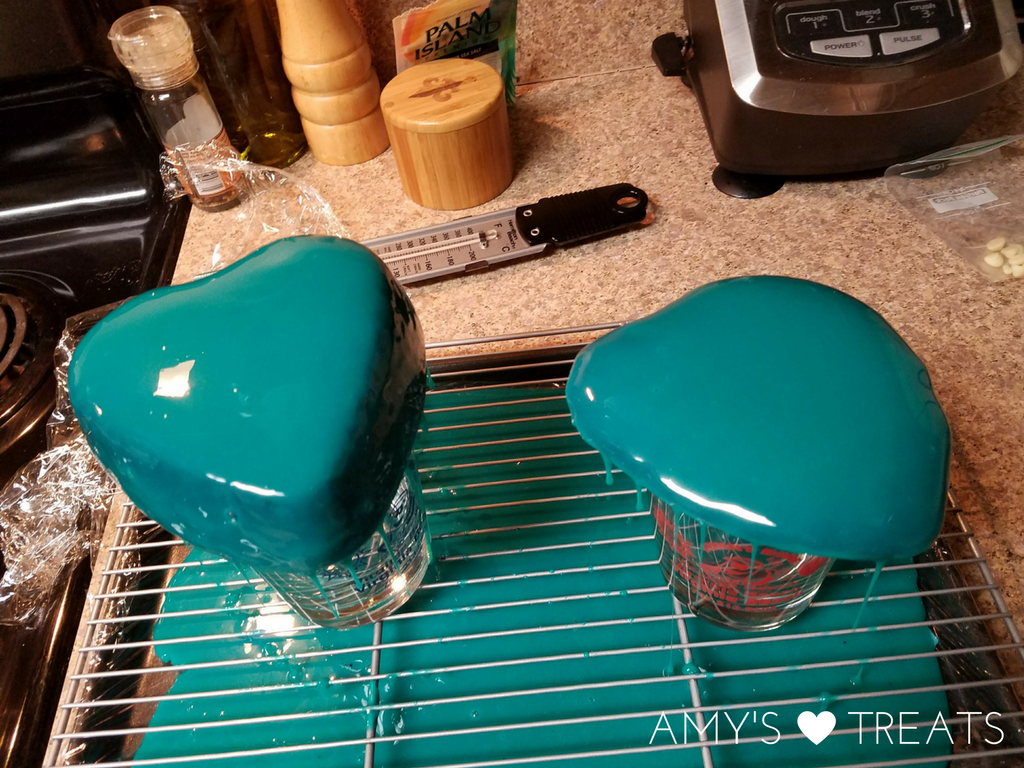
Once the glaze is the right temperature (thanks, candy thermometer!), and your CAKE is the right temperature, you're going to pour the glaze over your cake. Yes! The fun part! NOTE: Freeze your naked cake for at least 30 minutes before you take it out and glaze it. Trust me on this one.
To keep the fun part fun, help with cleanup, and make your lines straight, put your cake on top of a glass or bowl. Make sure this glass or bowl is on a wire rack over a cookie sheet lined with plastic wrap (more on this later).
To keep the fun part fun, help with cleanup, and make your lines straight, put your cake on top of a glass or bowl. Make sure this glass or bowl is on a wire rack over a cookie sheet lined with plastic wrap (more on this later).
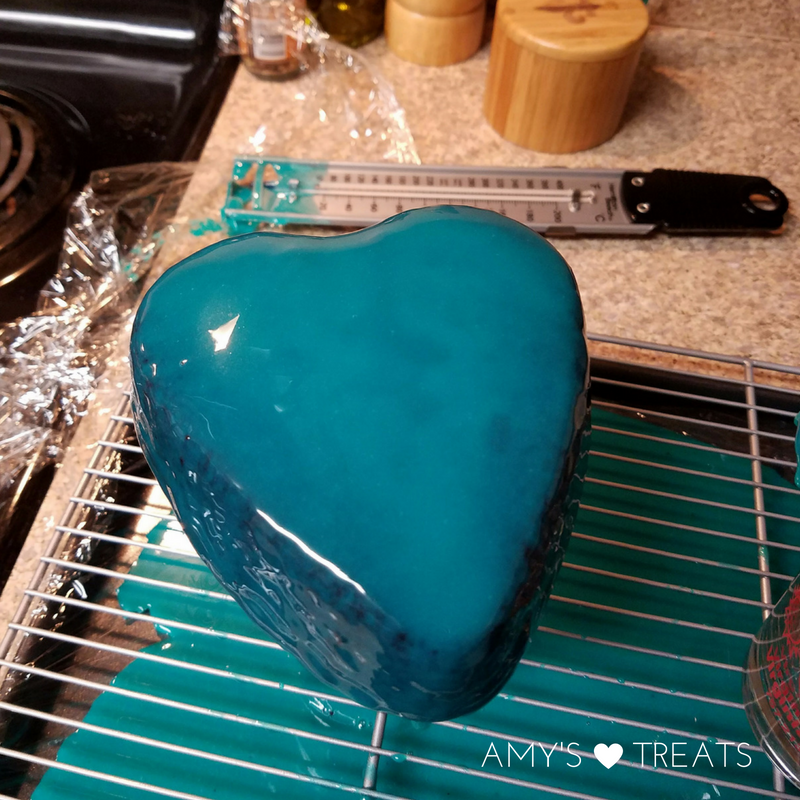
A couple of notes to help keep you sane: The first layer of mirror glaze likely won't be the only coat, especially if you're covering a dark colored cake. Don't worry if you don't have complete coverage on your first pass. Also, This glaze is traditionally put on a cake covered with a layer of mousse. If you put it directly on a naked cake (as I did), the cake may absorb a little of it. Lastly, this cake IS on a glass, though you can't tell from the angle of the photo.
Let the cake sit (5 minutes or so) until the glaze isn't dripping off anymore. Take an offset spatula or a knife and gently run it around the bottom edge of the cake to take the drippy glaze off the bottom.
Go ahead and give your cake another coating of the glaze if needed. It was definitely needed here.
Repeat both the 5 minute wait and the scraping off of drips.
Once you're ready to move your cake to it's final resting place (how ominous; sorry, little cake!), you'll have to carefully pick it up. I reached underneath each side with both hands and picked the cake straight up in the year, holding it gently on my fingertips. Once to the cake board, I worked one hand out by resting one end of the cake on the board, balanced the cake on one finger of other hand, and then dropped it directly down on the board by removing my finger quickly.
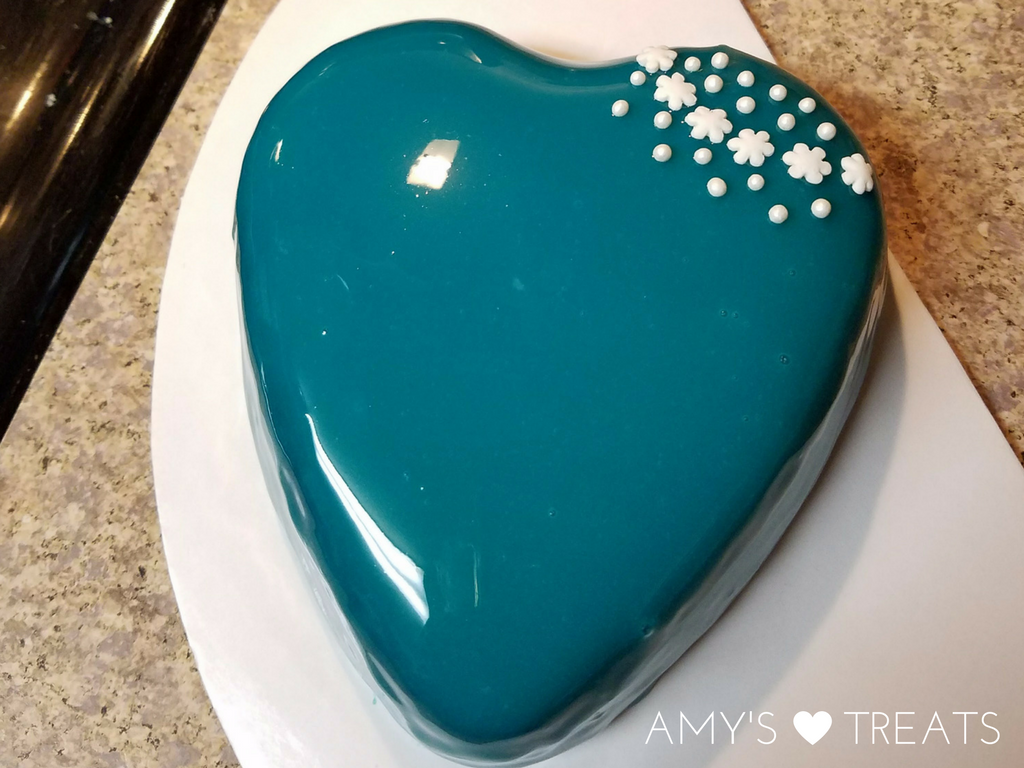
If you have any smears or splatters on your plate/board/whatever, wipe them clean with a damp paper towel. Add any toppings or decorations that you'd like. My recommendation: Keep it simple. These cakes are striking on their own because they're so shiny, don't cover up the shine!
Once you're ready to move your cake to it's final resting place (how ominous; sorry, little cake!), you'll have to carefully pick it up. I reached underneath each side with both hands and picked the cake straight up in the year, holding it gently on my fingertips. Once to the cake board, I worked one hand out by resting one end of the cake on the board, balanced the cake on one finger of other hand, and then dropped it directly down on the board by removing my finger quickly.
If you have any smears or splatters on your plate/board/whatever, wipe them clean with a damp paper towel. Add any toppings or decorations that you'd like. My recommendation: Keep it simple. These cakes are striking on their own because they're so shiny, don't cover up the shine!
|

As you can see, the cake top was tough to move and land on the cake board. It folded under the weight of the glaze when I picked it up. I might have flung it at the board. Don't judge.
|
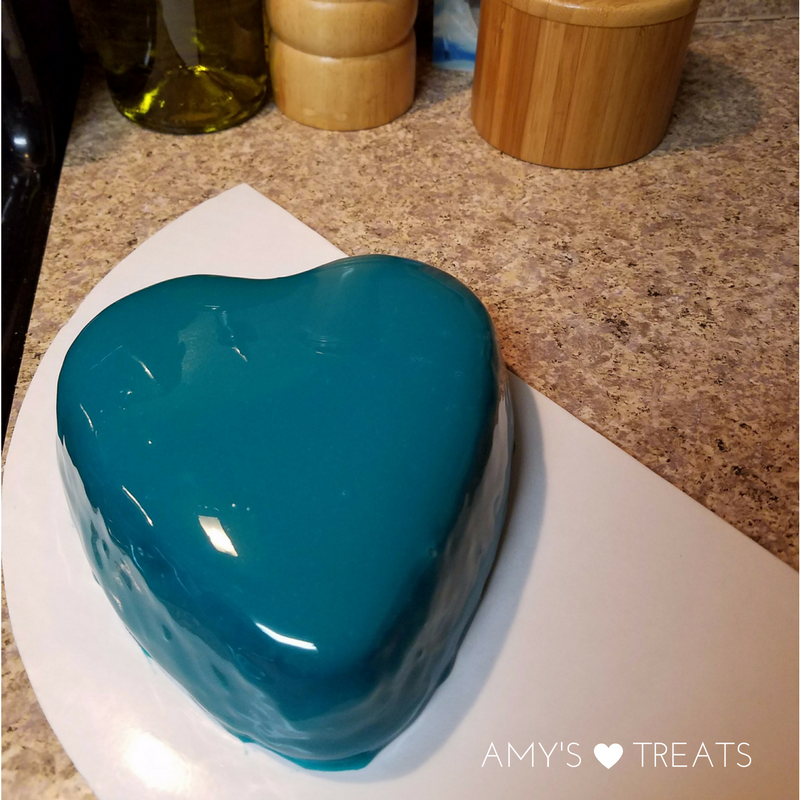
Success! Once the cake is decorated, you're all set. It can sit out at room temperature. Don't cover it with anything that touches it (plastic wrap, etc.), because you'll end up with a sticky situation. Serve immediately or keep on a covered cake stand or in a cake caddy.
Bonus: Remember your plastic wrap lined baking sheet? You can pick the plastic wrap up, carefully, and squeeze the extra glaze into a container. It'll keep in the refrigerator for a week or so. When you're ready to use it again, pop it in the microwave for 15 seconds at a time until it's at the right temperature for pouring.
Enjoy!


 RSS Feed
